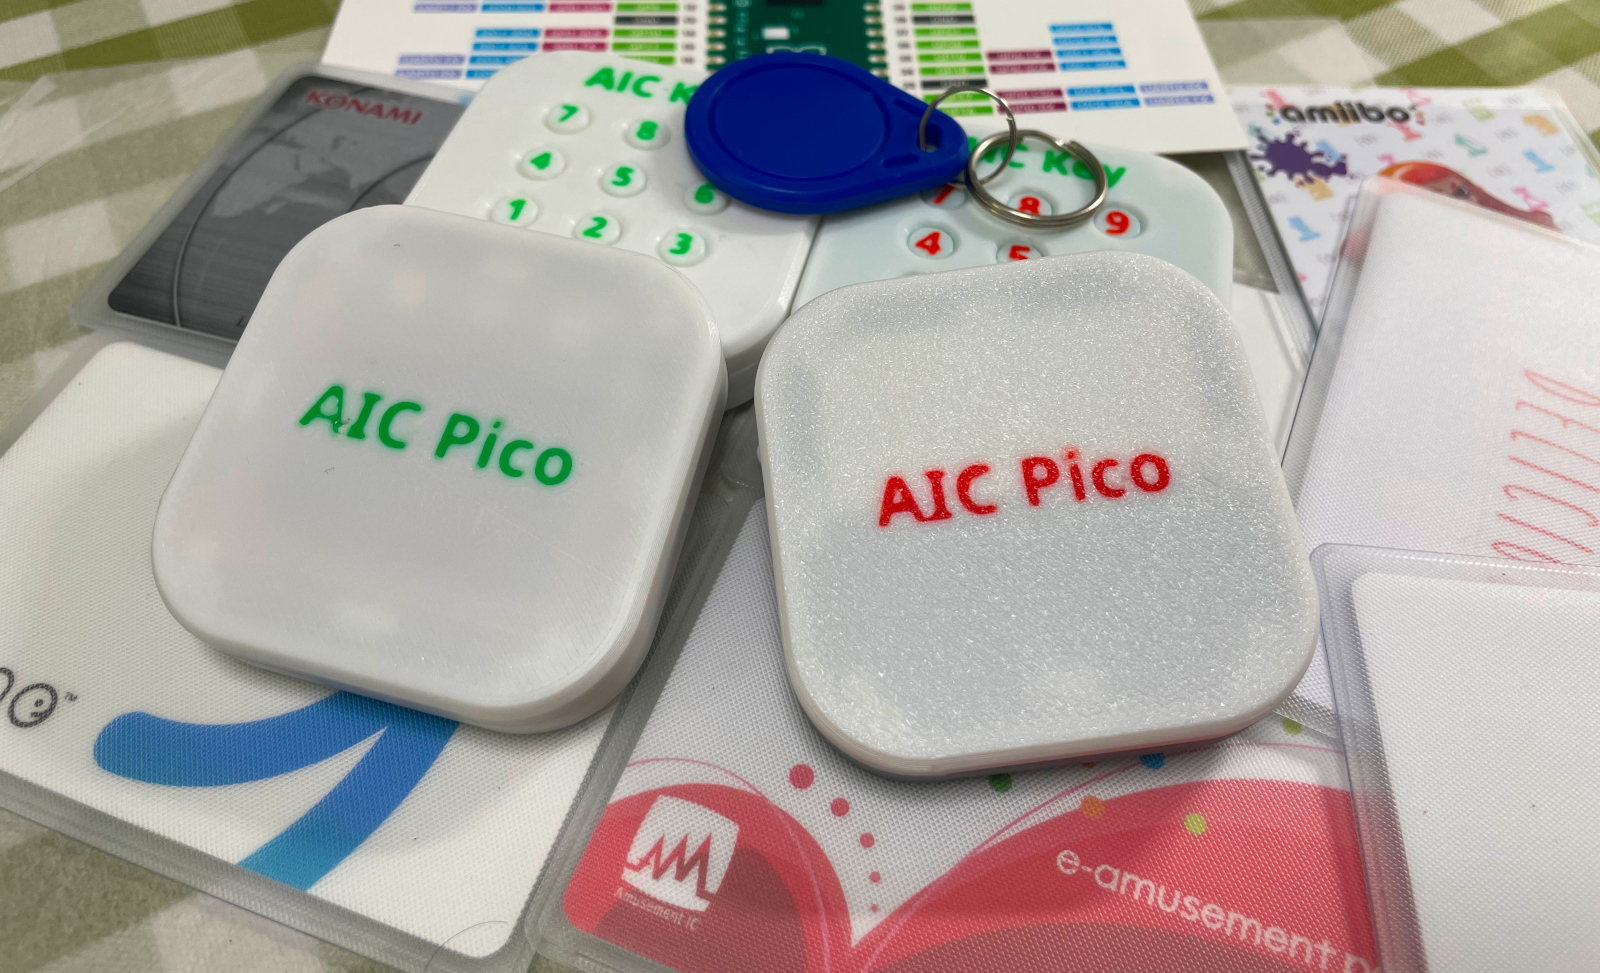
| doc | ||
| firmware | ||
| PCB | ||
| Production | ||
| LICENSE.txt | ||
| README.md | ||
AIC Pico - Amusement IC Card Reader, AIME & Cardio Emulator


Features:
- It's small, smallest as far as I know.
- Easy to make.
- Sega AIME I/O and Spicetools CardIO emulation.
- Command line of rich features.
- Supported card:
- ISO/IEC 14443 Type A (Mifare, Felica AIC, Amiibo, etc.)
- To be updated.
- Emulates virtual AIC from any Mifare cards.
- Variants
- AIC Pico
- AIC Key PN532 (see notes below)
- AIC Key PN5180 (see notes below)
- All source files open.
Notes: Be patient, I'm working on them.
Thanks to many respectful guys/companies who made their tools or materials free or open source (KiCad, OnShape, InkScape, Fritzing, Raspberry things), ChatGPT and GitHub Copilot helped a lot as well.
And thanks to community developers that inspired me and helped me: CrazyRedMachine (https://github.com/CrazyRedMachine) for the Spicetools Card IO part, Sucareto's AIME Reader (https://github.com/Sucareto/Arduino-Aime-Reader) for the AIME protocol part.
Notes
Check out my other cool projects, they're all great, I promise. https://github.com/whowechina/
This project:
- Heavily depends on 3D printing, a Bambu AMS system helps a lot.
- Requires skills to solder tiny components and wires.
Disclaimer
I made this project in my personal time with no financial benefit or sponsorship. I will continue to improve the project. I have done my best to ensure that everything is accurate and functional, there's always a chance that mistakes may occur. I cannot be held responsible for any loss of your time or money that may result from using this open source project. Thank you for your understanding.
About the License
It's CC-NC. So DIY for yourself and for your friend, don't make money from it.
HOW TO BUILD
Seriously, this is the easiest one among all my Pico series projects.
Components
- 1x Rasberry Pi Pico or Pico W (clones work too).
https://www.raspberrypi.com/products/raspberry-pi-pico - 1x PN532 Module (the Red Square board version, cheap clones work too).
https://www.elechouse.com/product/pn532-nfc-rfid-module-v4/ - Some thin wires.
- Thin WS2812B LED strip.
- 4x M2*8mm screws.
3D Prints
- aic_pico_bottom.stl
The bottom part.
For the top part, choose one that fits your need.
- aic_pico_top.stl
Regular top part. - aic_pico_top_ams.3mf
Regular top part, for multi-color printing. - aic_pico_top_tall.stl
Taller top part, so a thicker LED strip can fit. - aic_pico_top_tall_ams.3mf
Taller top part, for multi-color printing.
Assembly
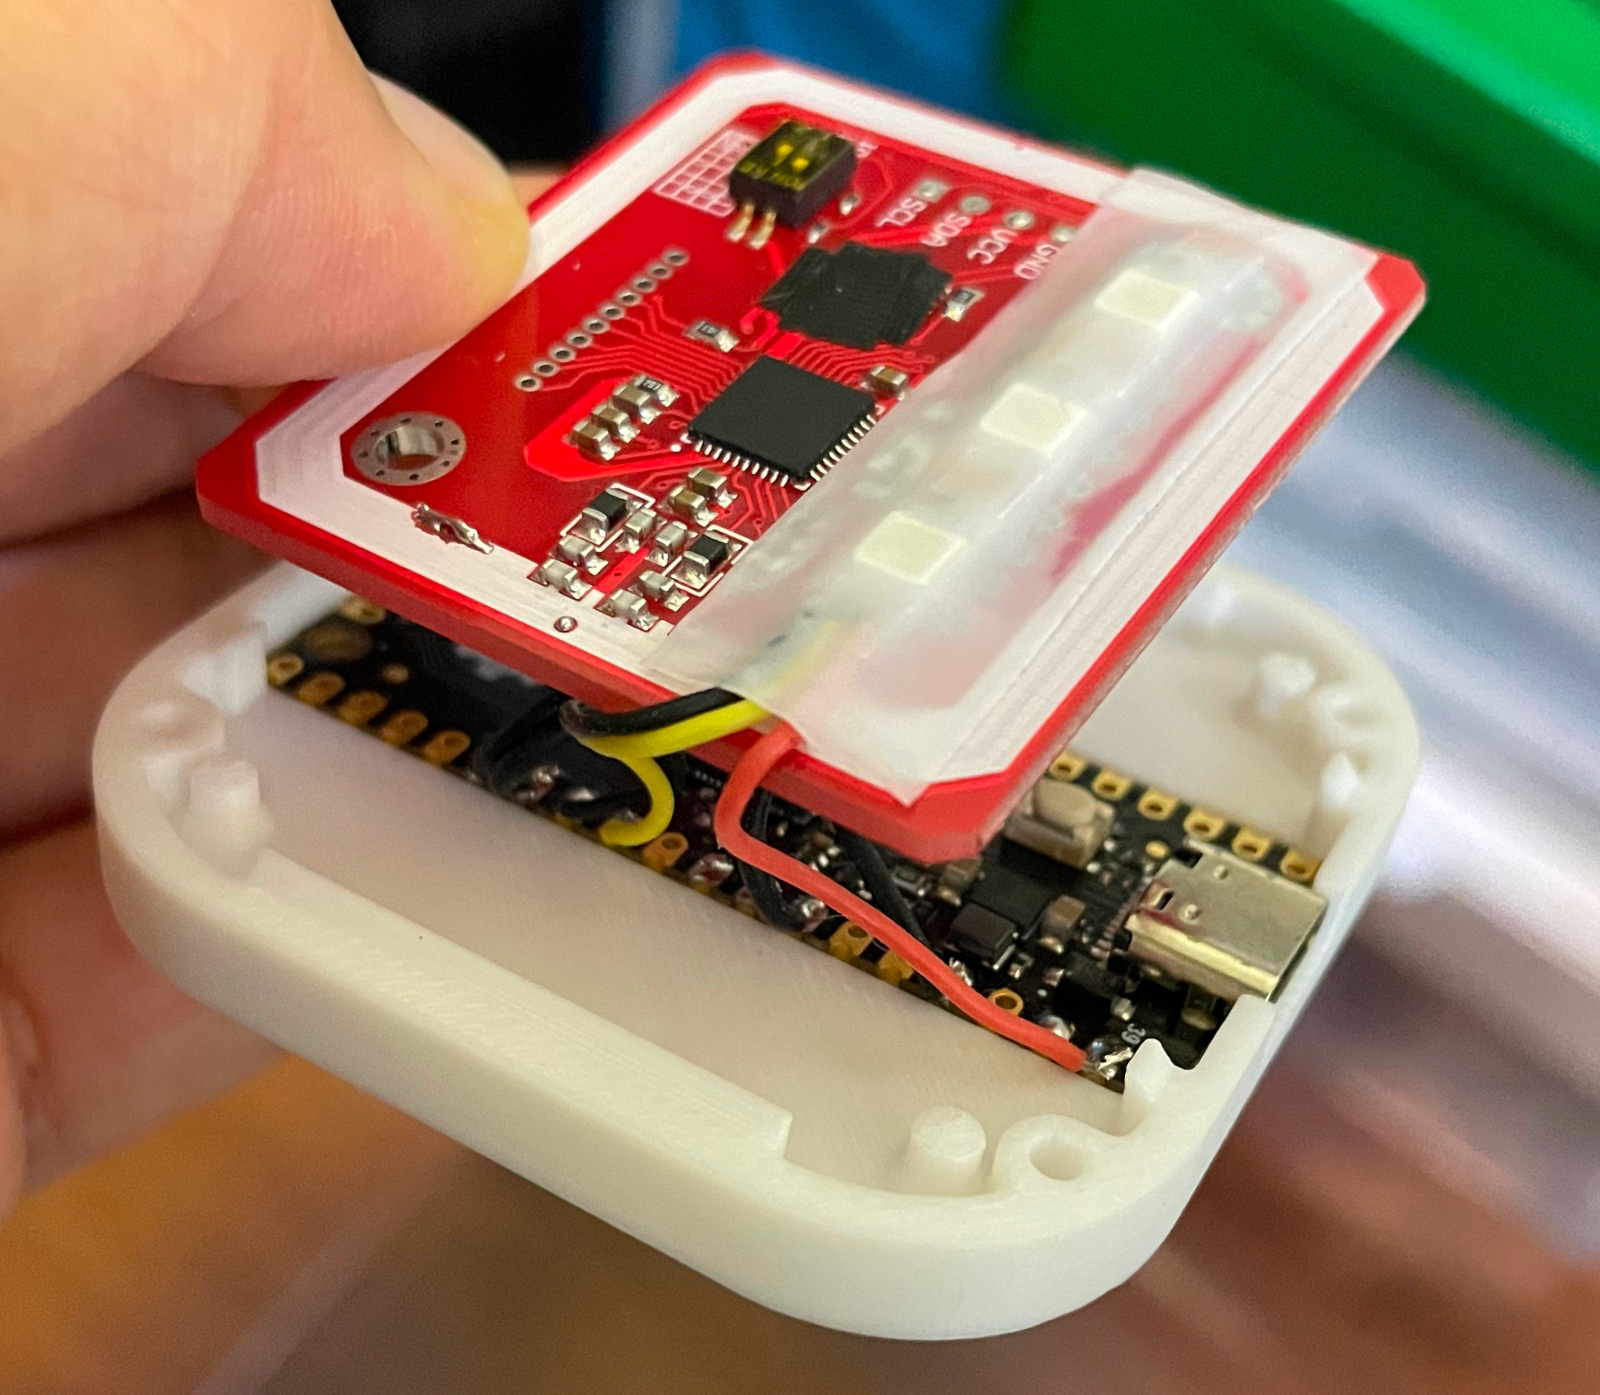
I'll let these images do the talk.


Firmware
- UF2 file is in
Production\Firmwarefolder. - For the new build, hold the BOOTSEL button while connect the USB to a PC, there will be a disk named "RPI-RP2" showed up. Drag the UF2 firmware binary file into it. That's it.
- It has a command line to do configuration. You can use this Web Serial Terminal to connect to the USB serial port of the Chu Pico. (Note: "?" is for help)
https://googlechromelabs.github.io/serial-terminal/ - To update the firmware, you can use "update" command in command line. So you don't need to open the housing.
- Spicetools cardio (Card I/O) HID is supported;
- SEGA AIME protocol is supported on a second serial port.
CAD Source File
I'll post when I finish all variants.