mirror of
https://github.com/whowechina/iidx_pico.git
synced 2025-01-19 08:07:56 +01:00
Pico IIDX - Beatmania IIDX controller

Features:
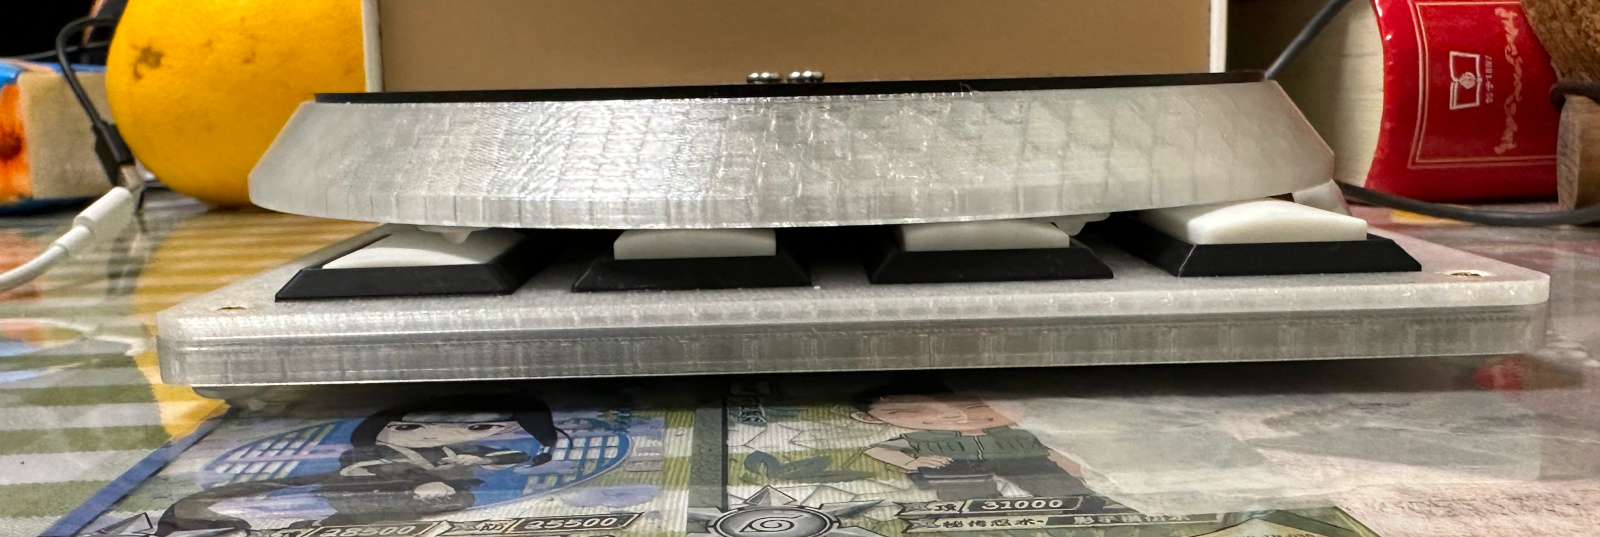
- It's thin, really thin.
- Turntable and keyboard are detachable with magnetic connector.
- HID lights, of course!
- Multiple turntable effects.
- Many live settings.
Thanks to many respectful guys/companies who made their tools or materials free or open source (KiCad, OpenSCAD, InkScape, Raspberry things).
Caution
This is a difficult build, much more difficult than my previous Pico Popn project:
https://github.com/whowechina/popn_pico.
I suggest you to build the my Pico Popn first.
This Pico IIDX project:
- Heavily depends on 3D printing, both FDM and SLA (resin).
- Requires skills to solder tiny components and thin cables.
Move forward only if you're REALLY interested.
This README documentation is still in progress.
HOW TO BUILD
Turntable Materials
- 1x AS5600 hall angular sensor board set (23mm*23mm)
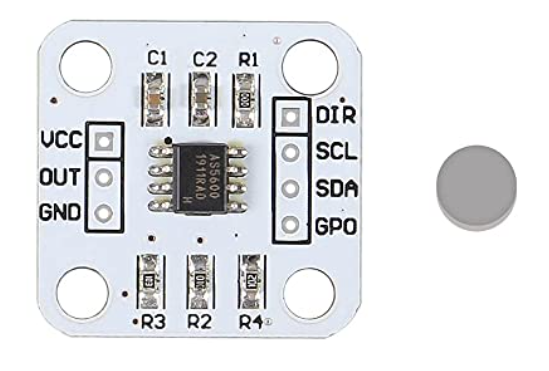
- 1x 6mm*2mm magnet (must be radially magnetized), normally comes with the AS5600 board set.
- 1x 61804-2RS deep groove ball bearing (20x32x7mm), normally < 5US$;
- 3x M4*10mm screws (large flat head is better) and hex nuts, for bearing.
- 4x M3*12mm screws, for spinning disc.
- 2x 1N4148 diode (choose ones easy to solder)
- 1x Custom cut acrylic spining disc, 4mm thickness.
Keybard Materials
- 1x Raspberry Pi Pico.
https://www.raspberrypi.com/products/raspberry-pi-pico - 11x Kailh Choc v1 or v2 keyswitches, to get better play feel, 7 of them should be 50g linear.
https://www.kailhswitch.com/mechanical-keyboard-switches/low-profile-key-switches/burnt-orange-switch.html
https://www.kailhswitch.com/mechanical-keyboard-switches/key-switches/kailh-low-profile-switch-choc-v2.html - 7x Kailh low-profile stabilizers.
https://chosfox.com/products/kailh-1350-choc-switch-6-25u-stabilizer-set - 2x Panasonic 6mm square tactile switch EVQP1K05M.
https://www3.panasonic.biz/ac/e/dl/catalog/index.jsp?series_cd=3473&part_no=EVQP1K05M - 1x USB Type-C socket (918-418K2023S40001 or KH-TYPE-C-16P)
- 11x WS2812B-3528 RGB LEDs or if you want more challenge: 28x WS2812B-1516.
- 1x 0603 5.1kohm resistors for USB.
- 2x 0603 10ohm resistor.
- 5x 0805 1uF capacitors.
- 4x Kailh low-profile keycaps.
Detachable Cable
- 1x HDMI cable (ultra slim, diameter < 4mm), at least 50cm in length, we'll cut the HDMI connectors off, so pick a cheap one.
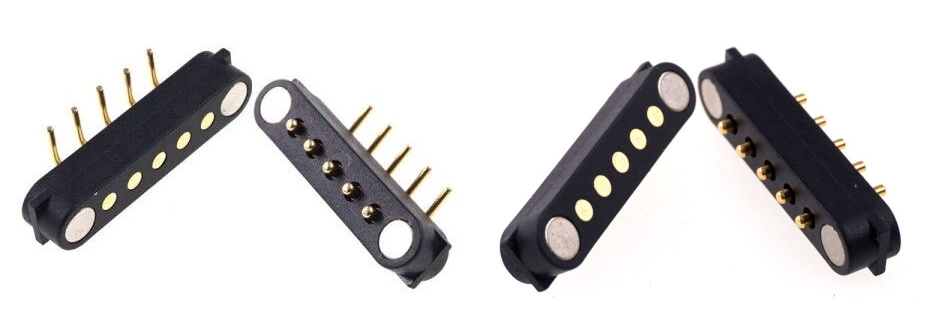
- 2X Magnetic pogopin connector sets, male and female. PCB side should use ones with 90-degree pins, cable side use ones with straight pins.
Step 1 - Buy
Step 2 - 3D Print
- Keyboard PCB bottom
FDM, PLA/PETG transparent, 0.2mm layer. - Keyboard PCB top (dual color if you have Bambu Lab's machine and equipped with AMS) FDM, PLA transparent, 0.2mm layer. If you have Bambu Lab's AMS system, use PLA black/gray for 3.0mm+ layers.
- Turntable base, choose one of the 150, 170 or 180, based on your choice of disc size. FDM, PLA, 0.16-0.2mm layer.
- Turntable bearing seat
FDM, PLA, 0.16-0.2mm layer. - Flange for the spinning disc
FDM, PLA, 0.16-0.2mm layer. - Main button keycaps
SLA (resin), regular white, 0.05mm layer.
Step 3 - Solder
Still in progress, check out later...
Step 4 - Assemble
- Assemble the turntable

- Install the low-profile stablizers.
https://docs.keeb.io/choc-stabs
A little trick here is leave the keyswitch unsoldered, after the stabilizer, the keyswitch and the keycap are in place, push the keycap down and then solder the keyswith. This way keyswitch can align to the stabilizers better. - Assemble the keyboard

Step 4 - Firmware
Still in progress, check out later...