| .github/workflows | ||
| Assets | ||
| mercuryio | ||
| Packages | ||
| PreviewImages | ||
| ProjectSettings | ||
| .gitignore | ||
| LICENSE | ||
| README.md | ||
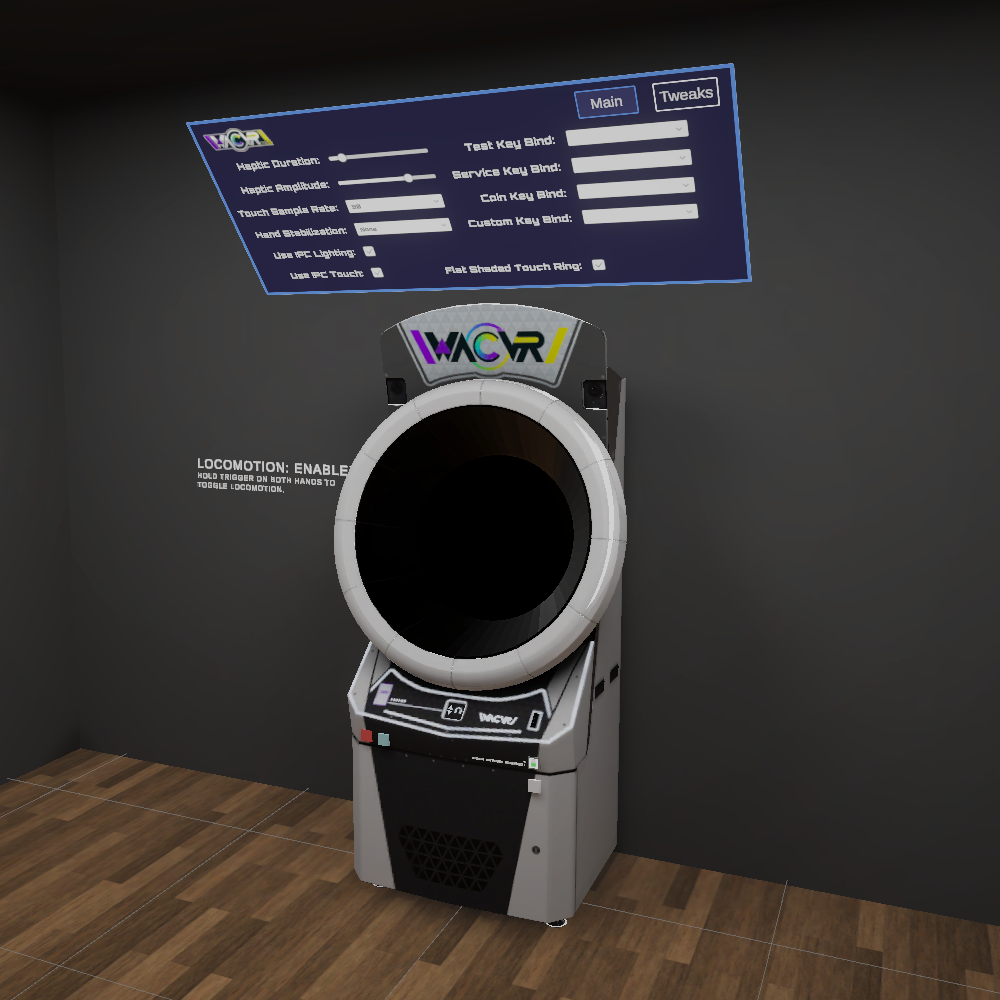
Preview

About this project
- Model is almost 1:1 to physical cabinet
- Supports every game version
- Supports native touch input via serial (com0com required)
- Supports lights/LEDs (via hook)
- Customizable haptic feedback
- 4 customizable buttons
- 3rd person and smoothed 1st person cameras
- LIV avatars/mixed reality
Supported platforms
- All SteamVR devices (Index, HTC, Oculus, etc.)
- All Oculus devices (Oculus Desktop App)
Tested on: Quest 2 through Oculus Link (Native and via SteamVR), ALVR and Virtual Desktop (via SteamVR).
Repositories used
Disclaimers
- This project is not-for-profit and some resources came from the Internet!
- Although this repository is under the GPL-3.0 license, do not use any content of this repo in commercial/profitable scenarios without permission!
- Please support your local arcade if you can!
How to use
- Get the game somehow and make sure it's clean. (DO NOT ASK ANYTHING THAT IS DIRECTLY RELATED TO THE GAME ITSELF)
- You have 2 ways to setup the game, Automated (recommended) or Manual.
Automated (recommended)
Automated setup configures the game and downloads WACVR, xxxxtools, and other files for you.
Thank you to Glub Glub for releasing this!
- Download Glub Glub setup environment and extract it to a folder.
- Then, follow the
README.txtfile inside to add and setup your game. - Add a server in
Game\app\bin\xxxxtools.inito connect to. - Once done, run
Launchshortcut to start both WACVR and the game.
Manual
- Make sure the game properly and uses latest xxxxtools.
- Download the nightly version of WACVR.
- You have 2 ways to connect touch to the game. Please only choose one of them:
mercuryio
- Download mercuryio.dll.
- Put
mercuryio.dllintobinfolder. - Add
[touch] enable=1to .ini file - Add
[mercuryio] path=mercuryio.dllto .ini file. - Start the game and WACVR.
Serial (not recommended)
-
Download and install com0com.
-
Configure com0com to bind COM3 and COM5, COM4 and COM6.
-
Enable the
enable buffer overrunoption in com0com on both ports of all pairs. Otherwise, your WACVR will crash after the logo. -
Add
[touch] enable=0to .ini file -
Start WACVR first then start the game.
-
If your touch is not working, try to somehow go to Test mode then exit Test mode.
-
The lighting requires
mercuryio.dll. You must set it up to get the lights from the game. If you don't have the lights, please check if you are using the latest xxxxtools and if your LED hook works.
Configuration
A config.json file is automatically created in WACVR's root directory on startup.
- You can change this file via the in-game config panel. Please take a step back: the controller pointer will automatically be disabled when the controller is too close to the cabinet.
- You can change
batFileLocationinconfig.jsonto the location of your start.bat file. The start.bat will automatically run when you start WACVR. - Some options in
config.jsonare only the index of the dropdown in the panel. - You can use the pointer to point the 3rd-person camera and move it to the position you want it to be.
Building guide
- Current Unity version: 2021.3.12f1
- for mercuryio, just replace files in mercuryio folder with files in this repo.
Known issues
- Display white screen issue
- Solution: Set game priority in the task manager to real-time may solve this issue. But the best way is just by capturing the entire screen.
Huge thanks to everyone that helped with this project! If you want to add any features or change anything, please commit a pull request. I will accept it as soon as possible!

